PVC Crappie trees, sometimes also called crappie houses or crappie condos, are a great way to improve your fishing in virtually any body of water.
Did you know that you can make your own and start fishing them right away?
All you need is a 5-gallon plastic bucket, some half-inch PVC pipe, a bag of cement, and you’ll have your PVC crappie tree for under $20!
Table of Contents
What Is A PVC Crappie Tree?
A PVC crappie tree is an artificial structure built to recreate the kind of environment where crappie live and feed.
They are very popular among crappie anglers, especially those with access to private ponds or lakes where they can manage the fishery and habitat.
Why Does It Work?
Crappie love heavy cover like fallen trees and submerged vegetation. The PVC tree mimics this type of environment.
You can place your PVC tree wherever you want to create your own crappie hole, especially in areas where habitat doesn’t exist.
The PVC trees provide cover for the crappie, and they also attract the food that the crappie like to eat, especially once the algae that many baitfish eat really starts to grow on the PVC branches.
A bonus is that your crappie trees won’t just attract crappie. All fish like cover, but these seem to be especially attractive to largemouth and smallmouth bass and any kind of sunfish.
This style of artificial fish attractor is commonly used by professional fish and wildlife agencies all over the country!
Why Not Just Throw In Natural Trees And Brush?
You can do this, but there are some advantages to an artificial tree. Natural trees and brush can be, often are-dropped along the shore into the water as cover for a variety of fish.
They aren’t really as useful for creating cover in deeper water. Trees and brush tend not to sink, and getting them to sink takes a huge effort, unlike your PVC tree.
Natural trees and brush also decay fast. In a few years, the trees will rot. Your PVC trees will stay in place, essentially unchanged, for up to 20 years!
Another great advantage of the PVC tree is that your lures and baits are less likely to snag on it than they are on wood.
Hooks can sink deep into wood, especially if it’s been in the water for a while and is starting to soften. They’re a lot less likely to sink into hard PVC.
You May Also Like: Fishing Hook Sizes & Types, Explained! (With Chart)
PVC is a chemically inert material, so you don’t have to worry about it leaching any chemicals or toxins into the water.
You can buy commercially made PVC crappie trees, but they’re expensive and you’re going to want several of them. Since they’re easy and cheap to make, you’re better off building your own.
NOTE: Always check with your local fish and wildlife agency on the rules and regulations regarding the creation of artificial fish attractors. In some states, a permit may be required, and in other states, it may be prohibited on public bodies of water.
Building Your $30 PVC Crappie Tree
For the simple version, you’ll need the following materials:
- A bag of cement, (approximately $5)
- A 5-gallon plastic bucket, (approximately $3)
- Three or four 10-foot half-inch PVC pipes at (approximately $4 each)
If you want to build a slightly fancier crappie tree, also grab a 3 or 4-foot inch-and-a-half PVC pipe.
NOTE: Many of these materials are laying around the house, in the barn, or can be found for practically nothing at yard sales or on Craiglist! Get creative to keep costs down!
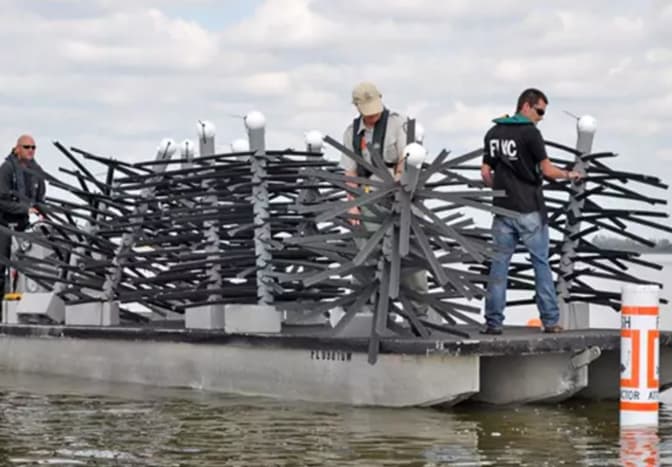
The Simple Version
Step 1
Take your half-inch pipes and cut them up to the lengths you want. They shouldn’t all be the same length because you don’t need or want your tree to be perfectly symmetrical.
Some people recommend roughing up the PVC a little with sandpaper so algae can attach to it more easily for food production.
You should aim to get three or four “branches” from each ten-foot pipe.
You can try all different lengths, but keep in mind the depth of the water where you are placing it. You want the entire structure to be at least 4 feet under the surface of the water.
Step 2
Mix up enough cement to fill the bucket. Put your cut PVC branches in the bucket and start to add cement. Position the PVC pipes so they are sticking up at various angles, all around the edges of the bucket.
Your finished product should look somewhat like the top of a palm tree.
Make sure that the branches are positioned in such a way that the handle can still stick straight up. You’ll need this to attach your rope to when you go to place it!
Once your cement dries you are ready to place your tree.
Some people do an even cheaper version using a milk jug or cinder block as a base!
The Slightly Fancier Version
Take the one-and-a-half-inch pipe and drill half-inch holes in it to fit your half-inch PVC pipes. With this version, you sink the bigger pipe into the cement in the bucket, then pass the smaller pipes through the holes in the big pipe.
The big pipe is the trunk and the small pipes are the branches. Your finished product should look sort of like a Christmas tree with no needles, sitting upright in a plastic bucket. You want a height of no more than four or five feet.
The branches can be held in place with zip ties or PVC glue.
Some people will make just the tree part and skip the bucket. They anchor each end to something like a cinder block and let it sit on its side on the bottom.
This is a solution if you are worried about carrying heavy cement buckets in your boat.
Where To Put Your PVC Tree
You want to put your tree in places that don’t already have natural cover. Remember, your goal here is to create new crappie habitat.
While you can place your tree in shallow water, PVC crappie trees really shine in structureless deep water.
Shallow water tends to already have weeds and brush, but deep water bottoms can be more barren and void of structure.
You need to find a spot in deep water that’s flat. Try looking for the mouth of large coves, deep water ledges, oxbow bends etc. Between 10-20 feet deep is ideal.
By placing your fish attractor here, you’ll create the structure to draw in the crappie when they go deep in the summer to escape the heat.
For the simple tree, pass a rope through the bucket handle, hold both ends, and lower the tree carefully to the bottom.
The cement bucket will sit on the bottom and keep your tree upright. When you have the tree where you want it, release one end of the rope and pull your rope out through the handle to retrieve it.
With the fancier tree, you’ll have to tie the rope to the trunk and will probably have to cut your rope once you’ve placed it.
Place the trees in clusters of three or four to create large habitats. If there are a variety of depths in the deep water, place clusters at all the different depths.
How To Fish A PVC Tree
You fish your PVC crappie tree the same way you would fish any natural brush or cover for crappie, with one big advantage…snags are less of a concern so drop your jig right in the cover!
The key to any successful fishing trip is figuring out where the fish are, and with your pvc crappie trees, you’ll be starting ahead of the game.
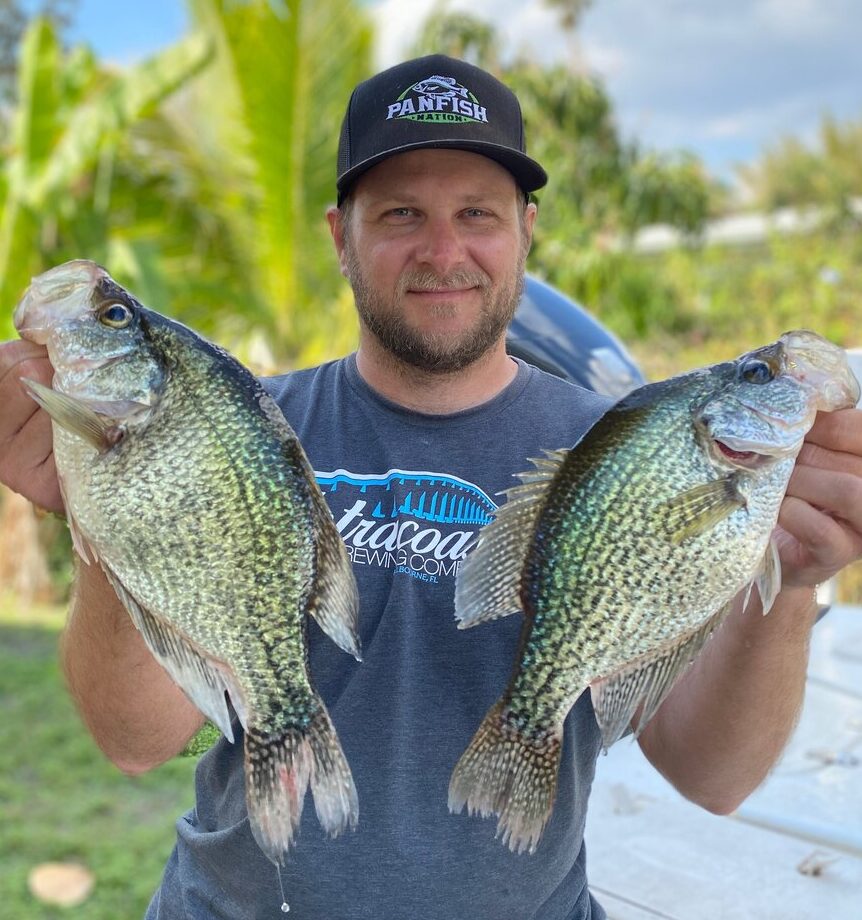
If you haven’t guessed yet, I love fishing and everything about it!
To learn more about why I started Panfish Nation, visit the About page and follow along on Social Media:
Download a copy of my FREE Lure Color Selection Chart & Knot Guide!
Stay up to date with fishing reports, tackle reviews, industry news, and much more! We respect your privacy, unsubscribe at any time.
